Monday, October 27, 2014

FYI: In the Top 10 and Could Use Your Vote!


I'm so excited to have my Day of the Dead Doll selected for the Cricut Design Space Start Top 10 for Round 4! Yippee! There were so many great projects created for this round of Holiday Decor. You can check them all out on the Cricut Design Space Star Pinterest Board.


Voting is open through Friday of this week (also known as Halloween!) and I would really appreciate your vote. There is prize money involved, which would be pretty fantastic for stocking up on creative supplies before the holidays!

Saturday, October 25, 2014

Sewing: Candy Corn Color-Blocked Pillowcase (We All Sew Tutorial)


I've been doing a bit of last minute sewing for Halloween. My mother used to make pillowcases for the holidays, which is a really fun way to celebrate without overdoing it. What child wouldn't love something new to snuggle, especially if it's flannel?


So I decided to make some pillowcases for Halloween, but rather than a Halloween graphic print, I used some candy corn inspired color-blocking. And added some top stitching, which resembles hand sewing. It was so fun! And quick. And the girls love them! 


I've got a full tutorial for you over at Bernina's We All Sew blog. Check it out and whip up some last minute presents.


Thursday, October 23, 2014

Craft: Day of the Dead Doll (Free Pattern)

UPDATE: This project made it to the Top10 in the Cricut Design Space Star contest! Yippee! I would appreciate it if you could take a minute to VOTE FOR this Day of the Dead Doll.


I know I am not the only admirer of the art and imagery surrounding Dia de los Meuertos. It's pretty irresistible. And so while I don't get super excited about decorating for Halloween I did find myself completely smitten with this Day of the Dead Doll!


I have to blame Cricut for this late night, as I'm one again participating in the Cricut Design Space Star Competition with my fabulous Team12 (#CricutTeam12Love). We settled on the idea of skulls and bones and I knew I wanted to give it a Mexican spin.


After perusing the Internet for imagery I decided to try a softie. Makes sense given the primary audience in my home. But I may have to keep this little doll for myself. And make a few more.

I'd love to play with other embellishments. Hand embroidery. There are lots of possibilities here.


And this can be a nearly no-sew pattern too! With adhesive stabilizer all of the felt appliques can simply be ironed on. Hand sewing gives it a great touch if you want to do that. I used my Bernina 580 and my latest favorite stitch, #713, to stitch around the outside of the doll, which is the only stitching required, but this doll could be completely handsewn too. I've got instructions for both approaches below.

This would be a great project for kids!


Click to view the tutorial and free pattern after the jump.


Check out the rest of the Team 12 projects too!


Monday, October 20, 2014

Sewing: Plaid Taffeta Wrap Skirt with Ribbon Tie (Tutorial)


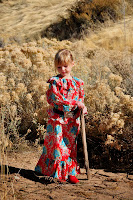
I love plaid for Fall, don't you? I spied this beautiful plaid taffeta fabric at Jo-Ann last year and had been wondering what could be done with it. Lucky for you they are still carrying it in the store and I've seen it online. They have this Royal Blue, as well as a Fuchsia and a Green. I bought some of the Green, perhaps for myself--we'll see.


Bold plaids are such a fun statement for Fall so when Jo-Ann invited me to create a "Sewing with Style" look for their Jo-Ann 2014 Fall LookBook I decided to use this fabric for a sophisticated look for Scarlett. It's not very often that a little girl wears a full length dress or skirt. It's such a great, dressy look! I would love to see a wedding party of little girls dressed this way. Scarlett loves it.

We just happened to have this beautiful velour top to match and some gold glitter flats. I think this is a great look with a cardigan too.


This is a pretty easy project to make. Great for beginners! It involves simple hemming and straight seams. I've got all the instructions below.

Wednesday, October 15, 2014

Sewing: Halloween Satin Opera Collar Cape and Mask (Tutorial)


If you've visited my blog around Halloween you've learned it's not a holiday into which I throw my heart and soul. But as my girls and their opinions grow, it is becoming more fun and I certainly don't want to be a stick-in-the-mud. So I've adopted an approach that isn't too much work and still appears to be in the holiday spirit.


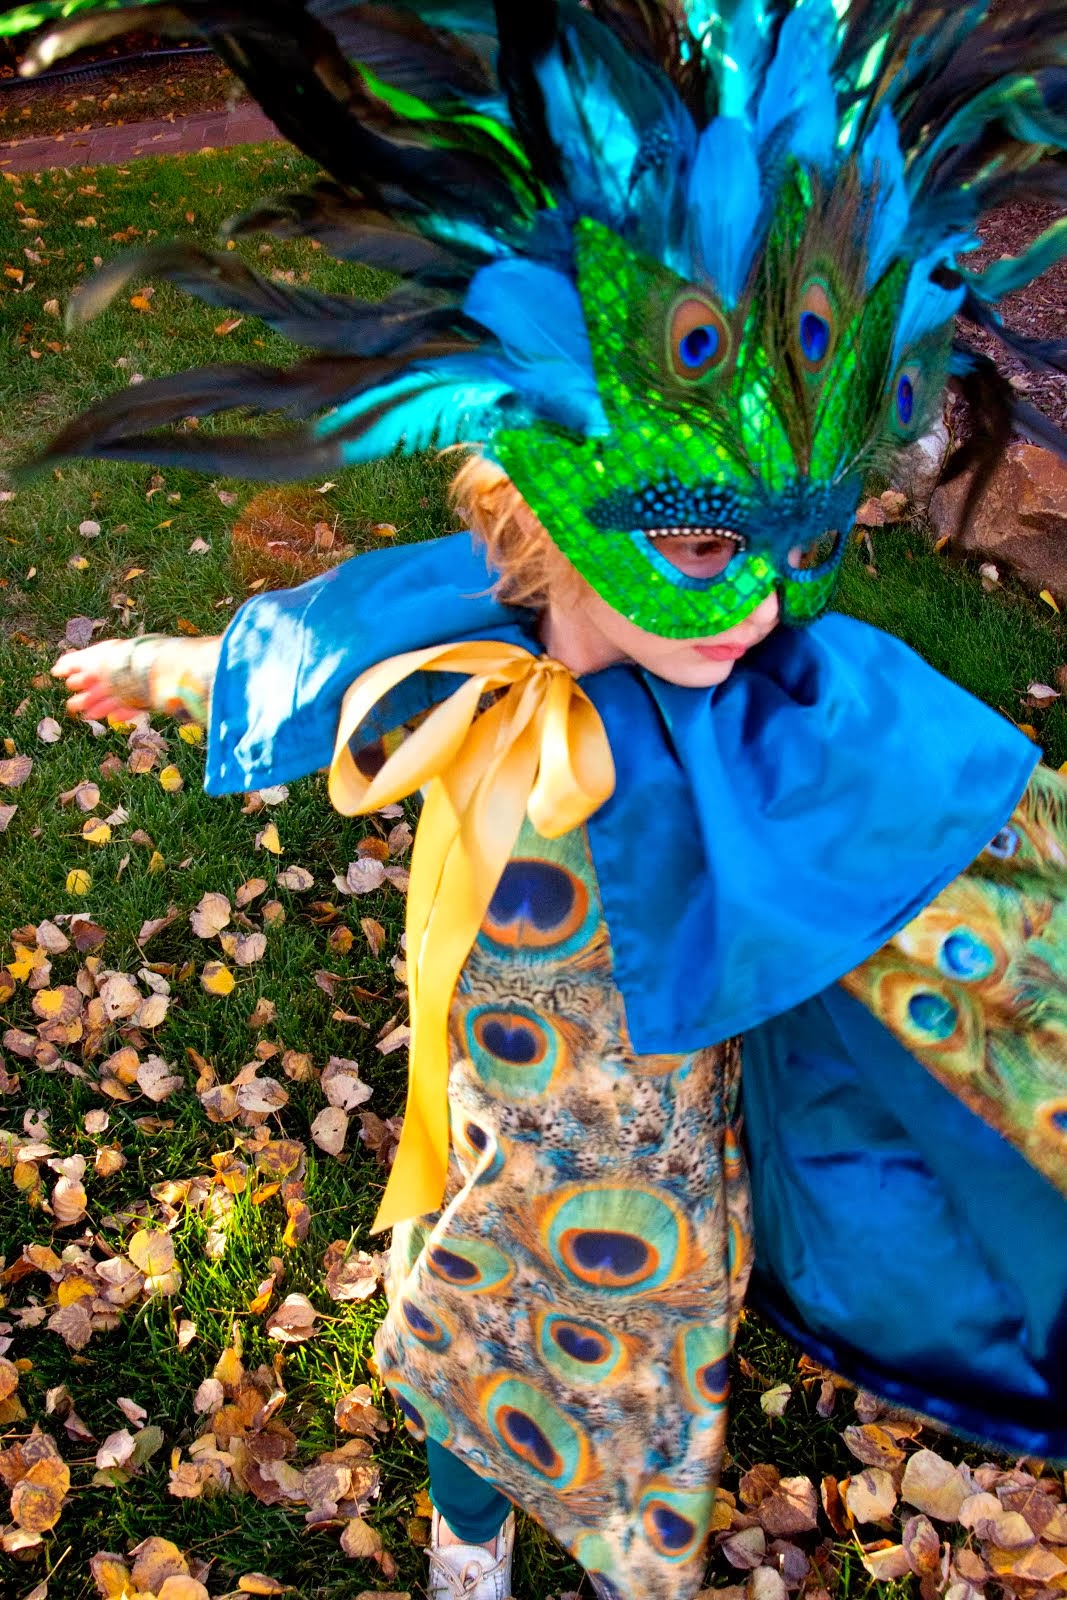
I have only sewn one Halloween costume for my girls, Scarlett's peacock costume. (I really admire those who stitch wonderful costumes but I usual have other things competing for my attention and the ready made costumes are filling the need pretty well right now.) The opera cape I made for Scarlett was such a simple way to create some drama I decided to make one for myself when Jo-Ann asked for a Chic Halloween look for their Fall Lookbook 2014.


This project makes the most of a great fabric. I found this beautiful orange and black abstract floral print satin charmeuse at Jo-Ann in their special occassion fabrics. This cape would be really cute in quilting cottons too however. 

With the Opera Cape and an embellished mask I've got something at the ready to throw over whatever I'm wearing. I would show up to the school Halloween party in this, or call it my "costume" for a neighborhood party, and why not don it to open the door to trick-or-treaters? I got really excited about a new look for Halloween and made a chiffon skirt with coordinating fabric from Jo-Ann but in truth black leggings or jeans may be the better way to go with this.


Click through for the instructions directions for making your own beautiful, dramatic cape. I've also got a full tutorial with photos in this Opera Cape post if you'd like to see more of the step-by-step.

Monday, October 13, 2014

Cooking: Orange-Almond Buttermilk Cake with Almond Buttercream (Recipe)


Doesn't the title say it all? If you like almond, along with moist, dense cake and creamy frosting, this is your cake! I made this for my sister-in-law to celebrate her birthday but it would have fit in nicely with our Frozen Princess Tea Party, if I'd had the time. There is something so delightful about 7" cakes stacked on this small milk glass pedestal. It just looks precious.

It's hard for me to choose between a chocolate buttermilk cake and one like this with a hint of citrus, so I recommend adding both kinds to your rotation!  This buttermilk cake has my tried-and-true buttercream frosting, which can be spread smoothly, swirled or piped (or piped like this), so it's perfect for birthdays and other celebrations.


The recipe is after the jump.

Thursday, October 9, 2014

Sewing: "I Heart Marcel Marlier" Dress


Have you heard of Marcel Marlier? I have to confess that I hadn't until An and Suz invited me to join in their series. When I saw his illustrations I was gaga. I immediately fell in love with the work of this Belgian author and illustrator. 


I don't know if it's the romantic vignettes he uses to frame many of his illustrations, or the amazing sunned and smooth complexions of his children,...


..or his "slice of life" style capturing the wonder of childhood,...


...or the frequent inclusion of small pets....


There is so much to love!

His illustrations remind me of another vintage illustrator I love, Eloise Wilkin, of Golden Books fame. They both depicted the idealized life of the generation or two before mine. I see in their work images similar to those in my mother's photo albums. a time when children were children for a long time and little girls always wore dresses!


Oh the dresses! They are my favorite. I have long loved vintage designs and have stacks of vintage dress patterns I'll never get to (though thanks to this series I just crossed one off my list!).


Whether the dresses are simple shifts or full fit-and-flare party frocks they always seem to balance feminine details with simplicity. And they flatter little girls without encouraging them to dress older than they are.


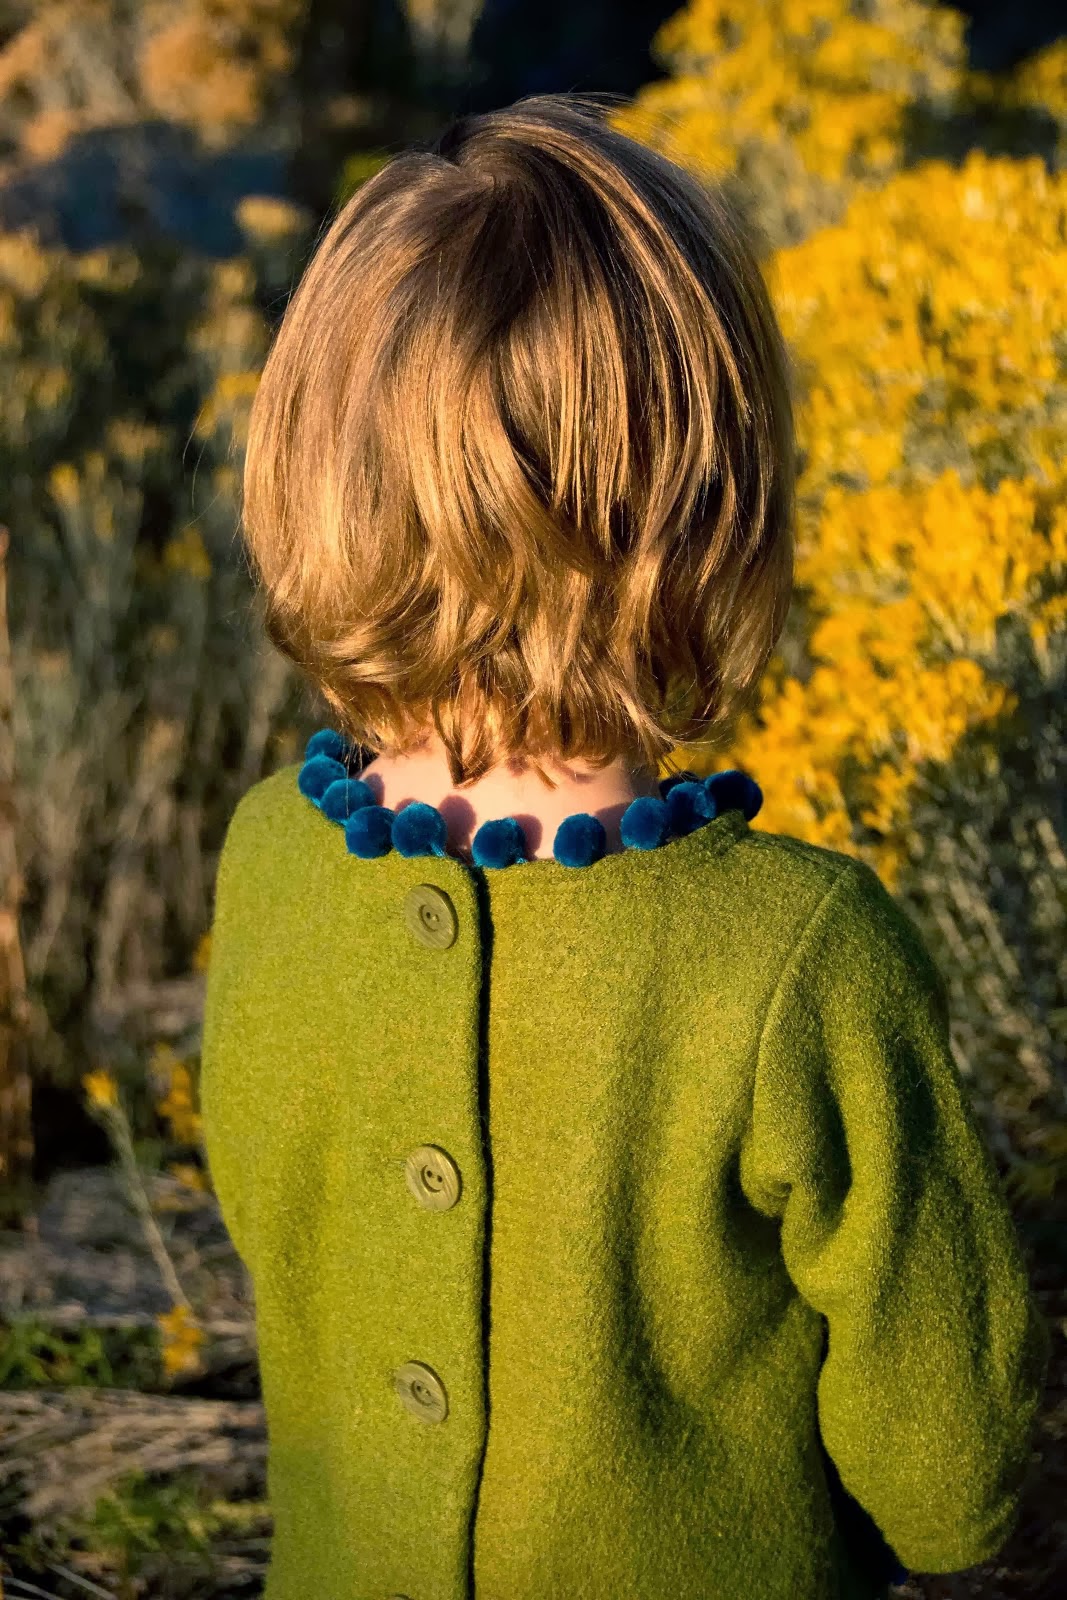
To imagine my own storybook shoot I chose a vintage a-line dress with a full inverted pleat in front and sewed it with this pretty aqua cotton-wool. I wanted to add just a little something and I was really lucky to find the perfect blue velvet ribbon--in two sizes! So I could trim the pleat and add a tiny bow below the neckline.


I love the way it turned out! I self-lined the dress so it feels silky on but it is cozy too. Perfect for the Fall. Thank you An and Suz for the motivation to sew something classic. It seems they are always my favorties.

There's something in this for you too. A giveaway! You can enter right here.

You'll have to check out all the other great Marcel Marlier inspired looks on this tour, including the one shared today by Dandelion Drift. So far beautiful looks have appeared at: StraightGrain , sewponyMade by SaraLa Folie Sewing BoothCompagnie MStitched Together and La Inglesita, with more to come.


And if you are inspired by Marcel Marlier too you can join in the sew alongs. Check them out on StraightGrain and SewPony.

Monday, October 6, 2014

Party: Frozen Princess Tea Party (DIY)

Update: I'm selling my carefully curated supplies for this birthday party on eBay right now. You can find a listing for party supplies for 8 guests and a deluxe set of supplies for 10 guests.


One of the amazing things about children is that they arrive with their own personalities. While these two seemed intent on imitating their older sister with all of her likes and dislikes they are now comfortable admitting that they love princesses and all things "girly." In fact, they now remind me at times, "Mom, remember I'm a girly girl?"


If they are embracing that side, then I thought I would embrace it for them too. Despite my lack of enthusiasm for character parties I decided I would give them a Frozen party with no reservations.


So I took the Snow Queen theme and added "tea party" to it. Because what could be better than a princess tea party for a couple "girly girls"?  Oh, we had so much fun! I used white, silver and aqua of course, and added some fringe, pressed glass "crystal," and snowflakes. To make it a more interesting for myself I also tried to incorporate a bit of an Art Deco vibe, beginning with the invitations.


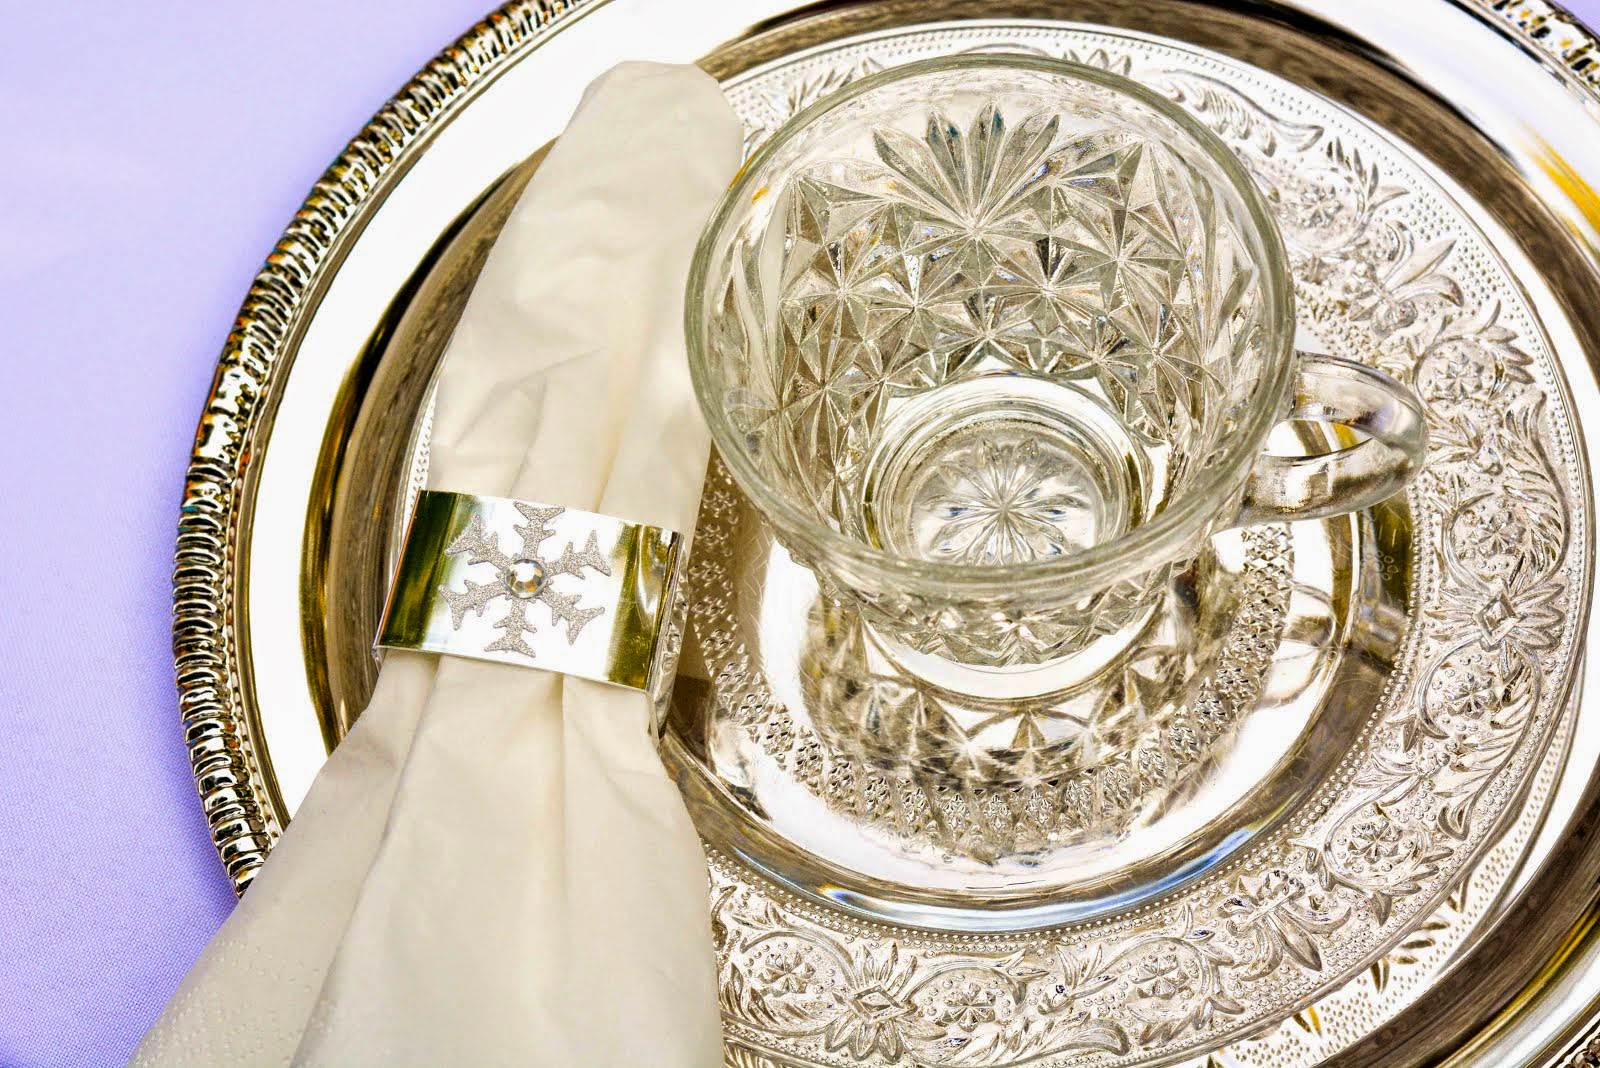
I have kept a set of mismatched pressed glass dessert plates for years and love using them, especially for birthday cake. When I thought of pairing them with glass "teacups" (actually thrifted punch cups), and found these "silver" plates at the dollar store, I knew it would be the perfect place setting for our Frozen tea party. I punched out snowflakes from glitter cardstock, glued them to "silver" (plastic) napkin rings (also from the dollar store) and finished them with adhesive rhinestones. Fit for a princess, right?


Then I set out to design a tea party menu inspired by the two-bite food of a classic tea party but friendly enough for our four through six year olds. I kept it pretty simple but it was still a lot of fun. My favorite part was finding smaller "silver trays," miniature silver spoons and forks and individual serving cups (actually plastic shot glasses and mini plastic wine glasses) for setting up the buffet.


We made snowflake-shaped strawberry jam sandwiches with snowflake cookie cutters and topped them with glitter paper snowflakes I cut with my Cricut Explore (get my .svg snowflake file here).


Filled small cups with fresh raspberries topped with a yogurt-covered pretzel.


Topped fresh blueberries with whipped cream and a silver spoon.


Created tomato toasts with melba rounds.


Spooned vanilla yogurt into footed cups decorated with snowflakes punched out of blue paper.


Created triple-stacked Nutella finger sandwiches with Art Deco fans leftover from the invitations.


And, we piled miniture powdered donuts into a tower topped with a snowflake and sprinkled them with aqua dusting sugar.


With all of that I totally gave out on the cake! I purchased a white iced sheet cake from Costco and topped it with Frozen figurines, snowflakes and art deco fans in lustre papers.


All the guests were invited to wear princess attire, which they did. It was adorable. And, one bonus I hadn't anticipated was that it made for nicely color-coordinated photos.


I used paper snowflakes (.svg snowflake file) cut with my Cricut Explore for placecards in silver placecard holders. Finding their places was definitely part of the fun. And the tea? Blue sports drink, of course.


The girls loved the tea party.


They had a great time picking out their favorites from the buffet.


I made snowflake "Elsa" wands for each girl and placed the bunch in a tall crystal vase filled with aqua glitter balls as a centerpiece for the buffet. I set the vase on a punched white platter from IKEA onto which I scattered crystal "ice."


Each girl also received a snowflake favor bag filled with a Frozen bottlecap necklace, an aqua and white swirl pop and a Snowman charm bracelet kit. (More details on these favors here.)


This party didn't involve quite as much DIY as my typical birthday bash. I just didn't have the time. Thank goodness so many resources are available locally and online. I borrowed round tables from a friend and ordered these white round tablecloths, and dressed up my white IKEA chairs with these blue organza bows. The bows were so much less expensive than I imagined, and a lot less work than sewing them myself!


I had ideas about sewing the girls' Elsa and Anna dresses but it turned out they both wanted to be Elsa, and I decided to put my efforts someplace else and just buy them! I've realized it's not possible to do it all so I pick and choose. I purchased the Disguise Elsa costume for Tess (above) and the Butterfly Craze Elsa costume for Scarlett (below). 


I had an Elsa wig (which runs a bit small) but at the last minute I had to find another so Scarlett wore also a Rapunzel wig (sized a bit bigger).


My own princesses really got the posing down! So funny. They had been observing the "real" Anna and Elsa who visited the party. 


This was the first time I combined the celebration for Tess and Scarlett and it worked out really well. 


They are such good friends and loving sisters, similar to the sisters in the Frozen story.


Hopefully it will stay that way. Family provides so many  opportunities for acts of true love. It's my  real life fairy tale.


Happy birthday, girls!

FYI, my party supplies are piling up so I've decided to package up and sell many of the things I procured for this Frozen party. I'll be posting info about it on my blog in the next few days if you are interested. UPDATE:  I'm selling my carefully curated supplies for this birthday party on eBay right now. You can find a listing for party supplies for 8 guests and a deluxe set of supplies for 10 guests.

Disclaimer: This post contains some affiliate links to products I have actually purchased and recommend. If you purchase a product from a link here I will receive a small commission to offset my blog expenses. Thanks.


Related Posts Plugin for WordPress, Blogger...