

We are enjoying some gorgeous Fall colors around here. It's early in the season so there is still plenty of green mingled with the golds, oranges and reds. On a sunny day the surroundings are pretty hard to beat. Come to think of it, a grey day looks pretty great too.

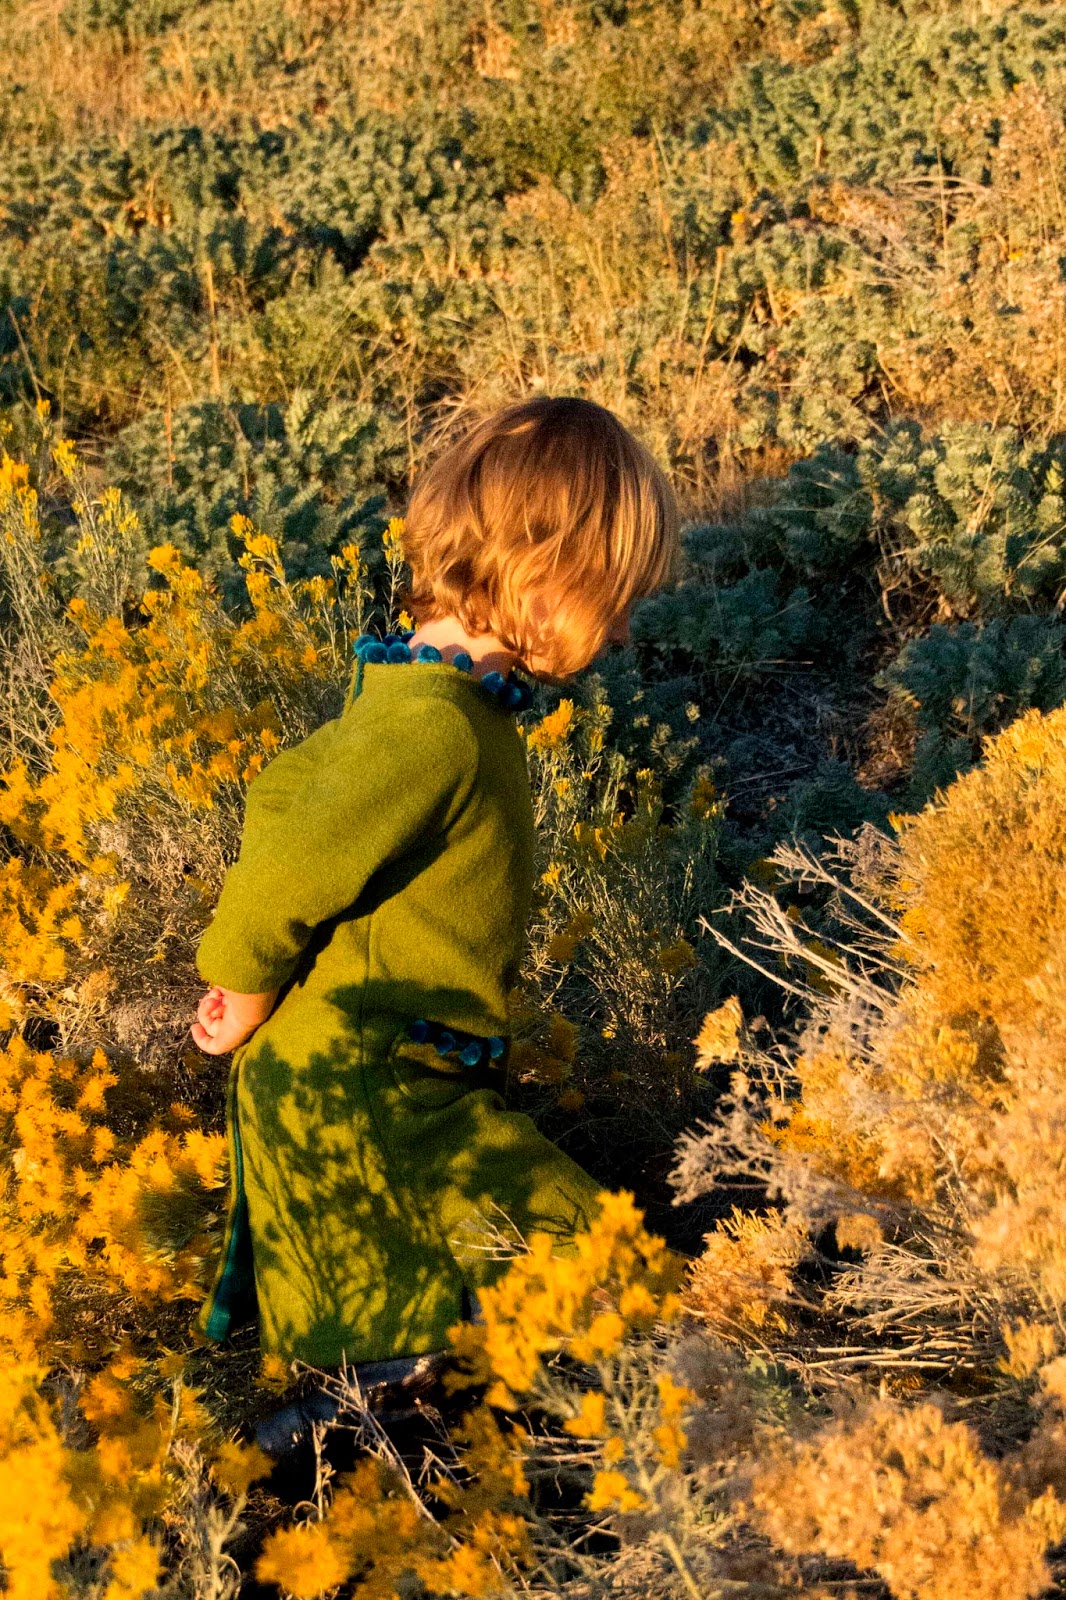
I love sweater weather, so I couldn't resist making a Bateau Neck Dress in this gorgeous green boiled wool ("Lana Bollito" from Harts Fabric) to usher in Fall. This green is what I would call a "mature" color, but the peacock blue pom-poms give it a more youthful vibe. And Scarlett was excited about it.


I made the dress in the button-back version. I hadn't sewn this particular combination from The Bateau Neck Top and Bateau Neck Dress extension patterns and it was fun. With a solid colored fabric such as this I like the opportunity to add the detail of buttons down the back (found these great green buttons, Belle Buttons by Dritz, at Joann).


The pom-poms along the neck and top of the hip pockets are a new twist I've been planning for a while. This trim is another reason for the button-back--the trim doesn't stretch.


The dress has plenty of give for my active girl, and to be certain she would find it comfortable I lined it with a cotton knit to eliminate any itch. I also used a stretch twill for the facings in a coordinating peacock blue--a good color if it shows but softer than the wool. I love using boiled wool and lining it makes it more versatile. I will share a tutorial on that sometime...

In the meantime I have a tutorial below for adding the pom-pom trim--it's a nice way to customize a simple top or dress like this.

Welcome Fall!
ADDING POM-POMS TO A BUTTON-BACK BATEAU
Note: This tutorial shows how to add pom-poms to a Bateau Neck Dress made from this pattern, but you could use this technique on any pockets and similar buttoning top.

I wanted the pom-poms stand up from the tops of the pockets rather than hang down, so I applied the trim much as one would piping, sewn between the layers of fabric forming the pocket.
Start by cutting a strip of pom-pom trim the length of the top of your pocket and pin it to the right side of one of the pocket pieces with the pom-pom webbing towards the top edge of the pocket. The trick here is to place the pom-poms so they will be just below your .5" stitching line (you'll want to stitch as close as possible to the pom-poms so that the strings attaching them to the webbing are inside the pocket--otherwise the pom-poms will flop). With the trim I chose, this required moving the webbing up a bit so it sat higher than the top of the pocket.

Baste the pom-pom trim in place.

Now pin the two pocket pieces for each pocket right sides together along the sides and bottom, but leaving the top of the pockets unpinned.

Stitch the pocket pieces together using a .5" seam allowance.

Trim seam allowances and turn the pockets right side out. Turn in the top of the pockets so the folded edges sit just below the pom-poms. Top stitch the top edge of the pockets (I used a twin needle) to finish.
Press your pockets will to get the desired shape. I actually blocked my boiled wool pockets much as one would a piece of knitting or crochet to shape them.

Pin the finished pockets in place on your dress or top using the pattern as a guide.

Stitch the pockets in place according to the pattern instructions you are using.

There you have it: pom-pom pockets.

To add pom-pom trim to the neck of a button-back Bateau Neck Dress or Top, pin the trim to the top edge (inside neck edge) on the right side of the neck facing. As with the pockets, align the webbing of the trim with the edge of the facing so that the .5" stitching line will be right above the pom-poms.

Baste the trim in place.

Attach the facing to the front of the Bateau Neck Top or Bateau Neck Dress right sides together as directed by the pattern. Finish the dress or top as per the pattern instructions.
Enjoy your pom-poms!


10 comments:
I love it!!! I've linked to your tutorial over at Craft Gossip:
http://sewing.craftgossip.com/tutorial-pom-pom-trim-for-a-top-or-dress/2013/10/07/
--Anne
So cute! Love it!
Sooooo cute!
It's adorable!
It's such a great pattern - definitely a must-have :-)
Photo super!!!
This is fantastic! I love this! And that first picture is magazine worthy for sure! Love the colors and the pom poms! Love it all!
Gorgeous! Green is my favorite color - I'd love this dress for myself! Wonderful photos, too.
What a gorgeous little dress! And what a wonderful colour-combination!!!
Carly
x
Love the darling "onion" fringe! Here is my fav knit fabric, well one of them anyway!! http://www.hartsfabric.com/ella-moss-floral-knit-white-71489.html
Oh my goodness - I am so so so in love with this dress Anneliese! Those poms are just darling, and I adore the way you added them around the neck. I never would have thought of that! The way they compliment the gorgeous wool, it is just lovely. As always, perfect :)
Post a Comment