

As many of you do, I love love love vintage patterns! I don't know what it is exactly, but I often find myself late at night trolling for patterns on Etsy and eBay in a nostalgic haze--a combination of good memories of sewing and visiting pattern shops with my mother, and the more idyllic times the patterns suggest--times when little girls dressed like little girls and their mothers dressed like ladies. The question for me when Jessica invited me to participate in Vintage May at Craftiness is Not Optional a few weeks ago was what sort of vintage clothing to sew...

I have sewn a lot of dresses for my girls from vintage patterns of the 40s and 50s. Lots of smock stylse and full dresses with Peter Pan collars. And it seems much of my sewing from contemporary patterns or those I've designed have a heavy vintage influence. I just love classic styles.

So for something just a little bit different I decided to go for more mod than classic and chose the 60s as my inspiration: the simple a-line dress with or without sleeves, plain or with applique, or rufflle or inverted pleat. And of course a few inches above the knee! This basic silhouette has a lot of possibilities.

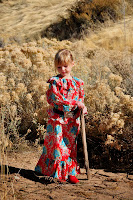
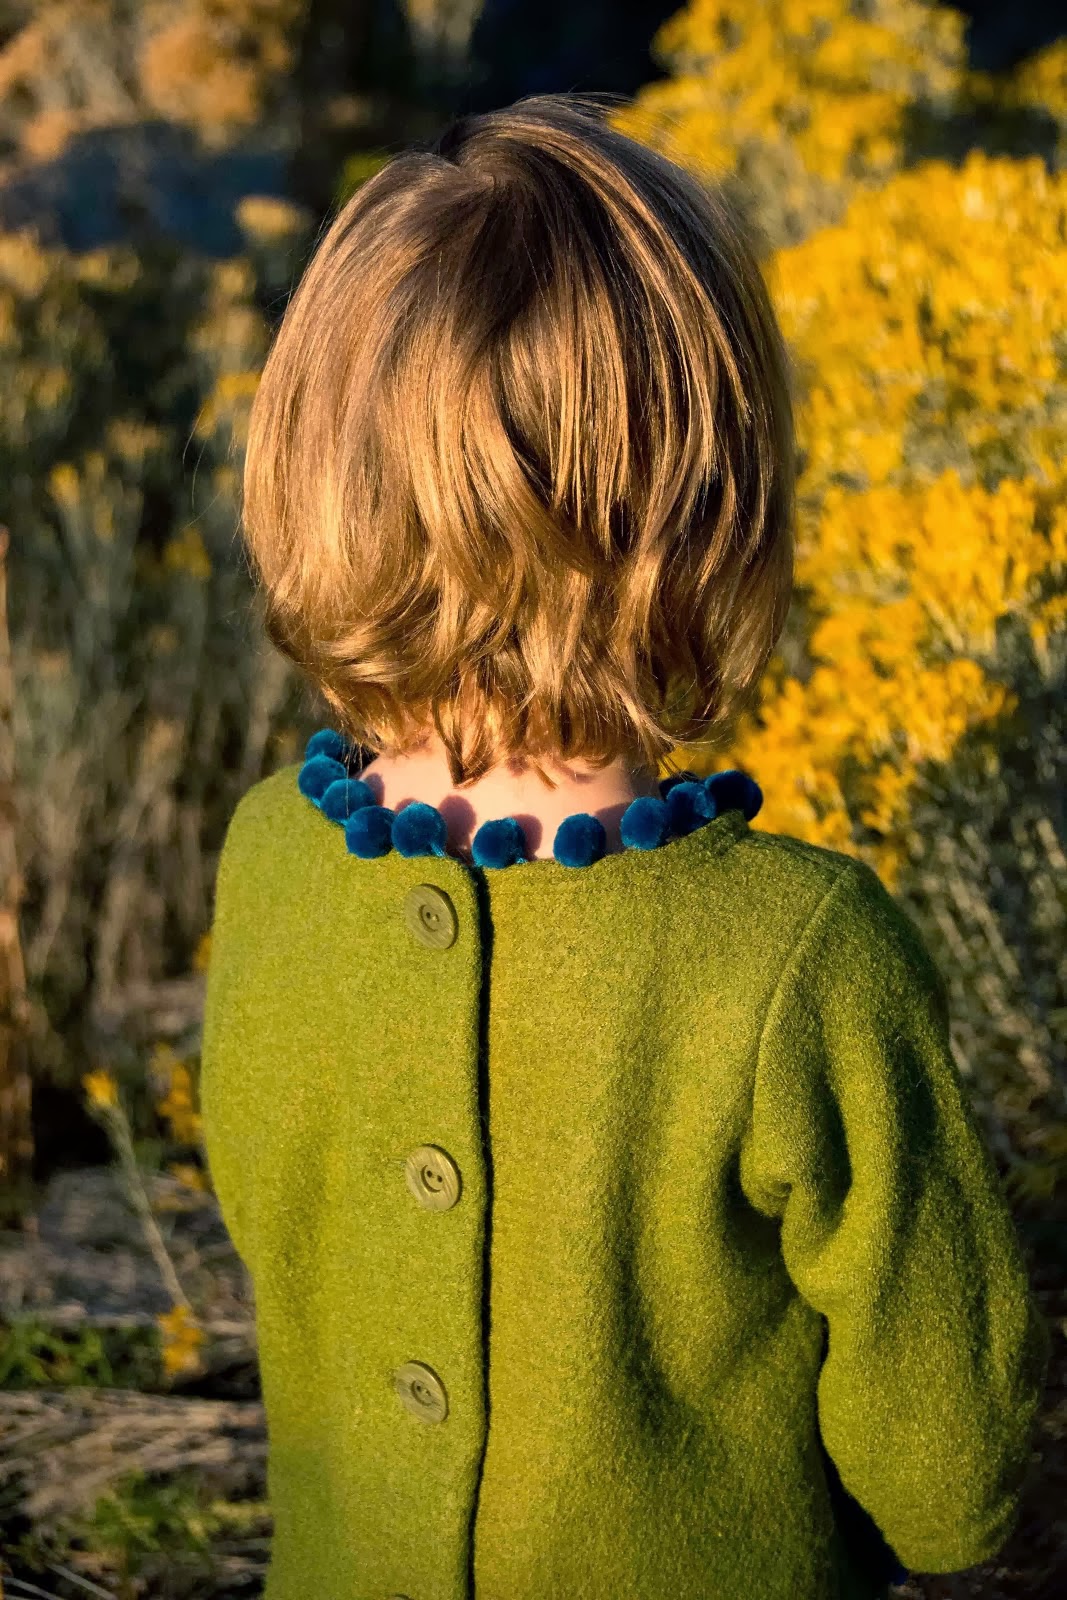
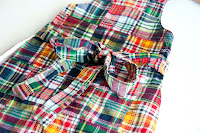
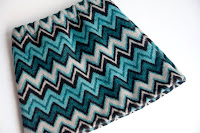
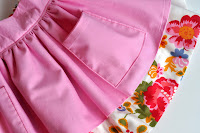
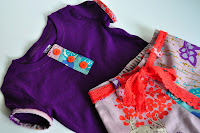
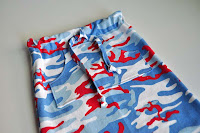
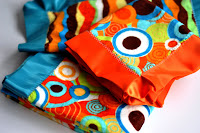
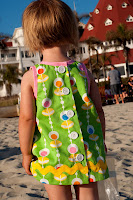
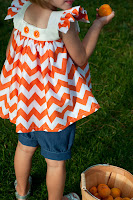
Then I saw a little dress in Mini Boden and decided to do a tipped and rick-racked version of the mod shift dress in a bold print. Reminds me of the bright pop art of that era too. And, even better, I had the right fabric in my stash: Michael Miller Punchy Pique. So here it is, my Mod Shift Dress:
The perfect dress for warm summer weather in cool treat colors!


I like it so much I may have to make two more for a set of three! It just says "play" to me, especially with a pair of shorts underneath. And it would make my girls easy to spot on crowded summer field trips.


Want to go mod? I've got a tutorial to show you how to add tipped neck and armholes and rick-rack trim to an a-line dress pattern.
MOD SHIFT DRESS TUTORIAL
You'll need:
- A buttoned-back a-line dress or dress pattern to sew
- Extra-wide Double Fold seam binding (such as Wright's)
- Jumbo rick-rack the length of your dress width with 2" extra for finishing
I started with my own Ruffled Chemise pattern but any simple sheath pattern would work. You could even do this to an existing dress to give it a new look. Before doing anything else, check the length. An above-the-knee length is an important part of this mod look. I make most things for my girls just below the knee, especially since they seem to be growing so quickly, but I took this Ruffled Chemise pattern and shortened it about two inches (just folded the front and back pattern pieces) before cutting.

To make this shift dress mod, sew it as the pattern directs but leave the armholes and neck unfinished (the seam binding will do the finishing). Baste around the neck and armholes on the stitching line (my pattern calls for a .5" inch seam allowance so I basted along that line).

Now to "tip" the neck, open up the seam binding and pin it to the wrong side of the dress with the center fold along your neck basting. You'll need about .5" of the binding extending on both ends of the neck. Stitch along the center fold.

Trim the dress fabric seam allowance to 1/4".

You'll be folding the seam binding to the front of the dress and stitching it down. To make certain this looks as neat as possible (and you don't see the double fold on the binding), trim the top half (the portion in the seam allowance) of the seam binding just inside the outside fold.

This way you can tuck that trimmed portion inside the fold of the other half of the binding and then fold the binding over the neck seam and flat onto the front of the dress.
So the fold of the seam binding should be laying down flat along the neck line and the seam between the dress and the binding should be folded in half so that the wrong side of the fabric stays on this inside of the dress. Pin this generously in place!

To finish the ends of the seam binding, open out the folds in the binding and fold the raw end under wrong sides together so the binding is the same length as the neck opening with this fold you've just created aligned with the back edge of the dress.

Now re-fold the binding...

...and finish pinning it to the front of the dress along the neckline.

After all your folding and pinning the seam binding should look like this along the neckline:

Now carefully top stitch as close as possible to the bottom edge of the seam binding to hold it all in place. (I used thread the same color as the binding.)

Now you will follow the same steps to "tip" or add color to the armholes. Pin the center fold of the seam binding along the basting stitch you created around the armhole. To finish the binding around the armhole fold it back on itself (wrong sides together) to start and line up this fold with the side seam of the dress.

Then overlap the other end by about .5". This raw edge will be folded inside the binding so it won't show.

Stitch down the center fold of the seam binding.

Trim the dress fabric seam allowance to about 1/4". Trim the seam binding as you did on the neckline so the half in the seam allowance can be folded neatly inside the other half. Fold it over so it is laying flat on the right side of the dress around the armhole. Generous pinning is key here to avoid puckers in your dress fabric! Top stitch very close to the bottom fold on the seam binding.

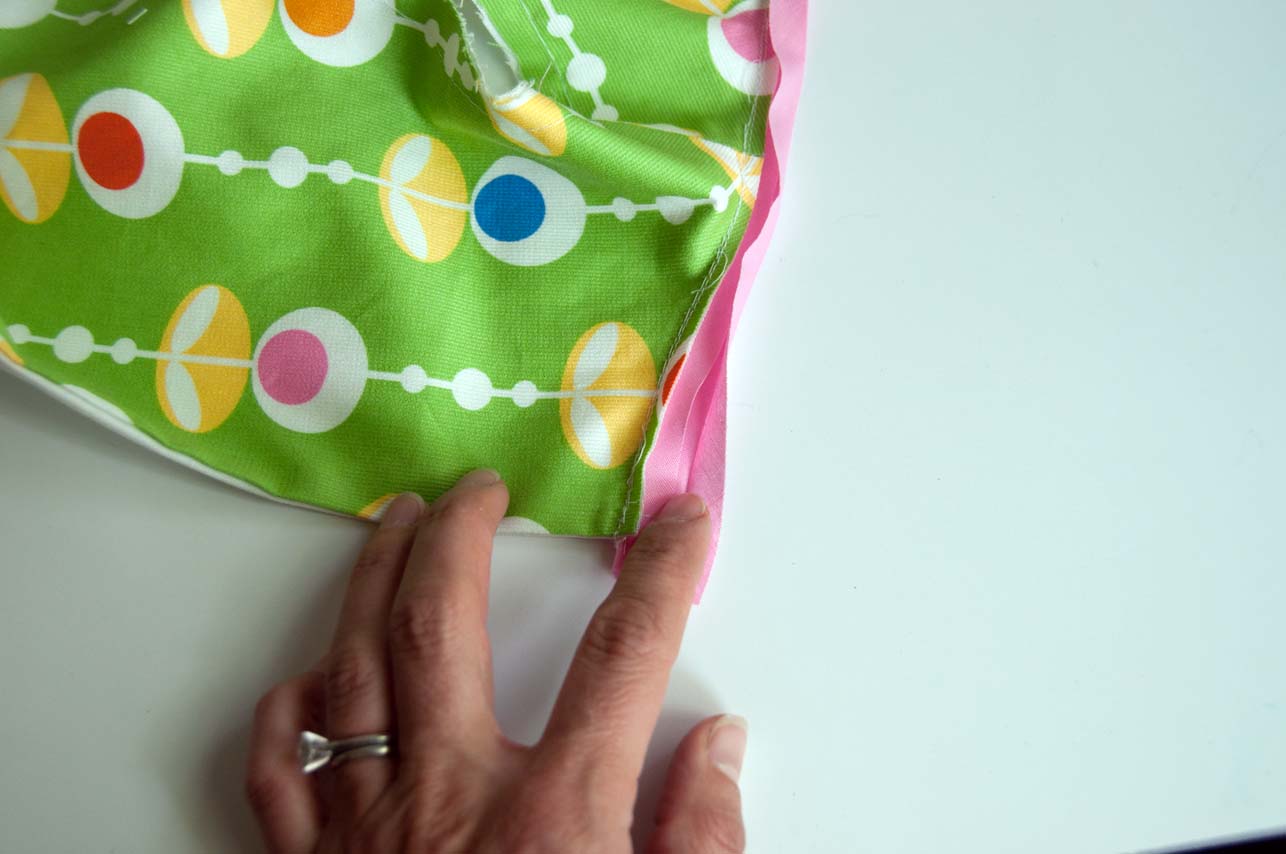
The last touch is some jumbo rick rack. Before working with it zigzag stitch along the raw edge, fold it back on itself and zigzag stitch again. This should stop any fraying.

Pin the rick rack to the right side of the dress so it sits about two inches above the hemline. (Note that you may want to sew your buttonholes and buttons first so you don't have rickrack interfering.)

For a neat finish wrap the ends of the rickrack around to the inside of the dress. If you do this at the top of a peak or a valley it will line up with the peaks and valleys on the right side of the dress and your top stitching will catch this trim on the wrong side to keep it in place.

When I've used rick-rack in the past I've simply stitched down the center of it to hold it in place, but with rick-rack this size I recommend top-stitching along both sides of the curves. It's a bit more time-consuming but it looks great!

You've done it. You've add a bit of bunch to a simple sheath dress and now you have 60s-inspired mod!

Thanks so much for hosting this great series, Jessica! It makes me excited to keep sewing vintage.


6 comments:
Love it! And I also loved when you reminisced with this comment:
times when little girls dressed like little girls and their mothers dressed like ladies......
I miss those days! ;O) I always thought my mother looked so beautiful and elegant and I wanted to be like her when I grew up.
You took me way back with this post! :o)
That is adorable and it looks exactly like the clothes my mom sewed for us when I was a kid in the 60's. My mom made beautiful clothes and spent hours in her sewing room making us outfits. Thanks for the trip down memory lane!
Of course your girls would look cute in a paper bag. The dress is adorable and I love the vintage yet modern feel to it. Great job.
Meredith
I just posted about how I am on a dress making frenzy and these little A-line dresses are my favorites! You can do so much with them! I'm especially liking the buttons on the back!
What a pretty, pretty dress! Love the colours!
And thank you so much for sharing!
I love love love this dress! The fabric is outstanding! LOVE IT!
Post a Comment