

It's all the rage, but I haven't yet indulged in the purchase of Washi paper tape. Probably because I haven't come across it to impulse buy in my brick-and-mortar retail browsing. And, probably because I haven't taken the time to think about coordinating gift wraps and tape.

But, having just made my own, I can see what all the fuss is about! So fabulous! So fun. I can imagine using it in all sorts of ways. And the DIY variety is easy as pie!

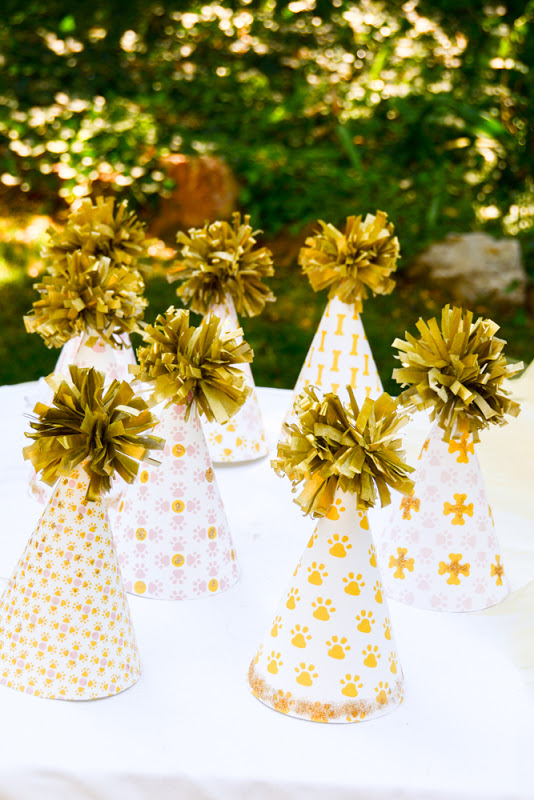
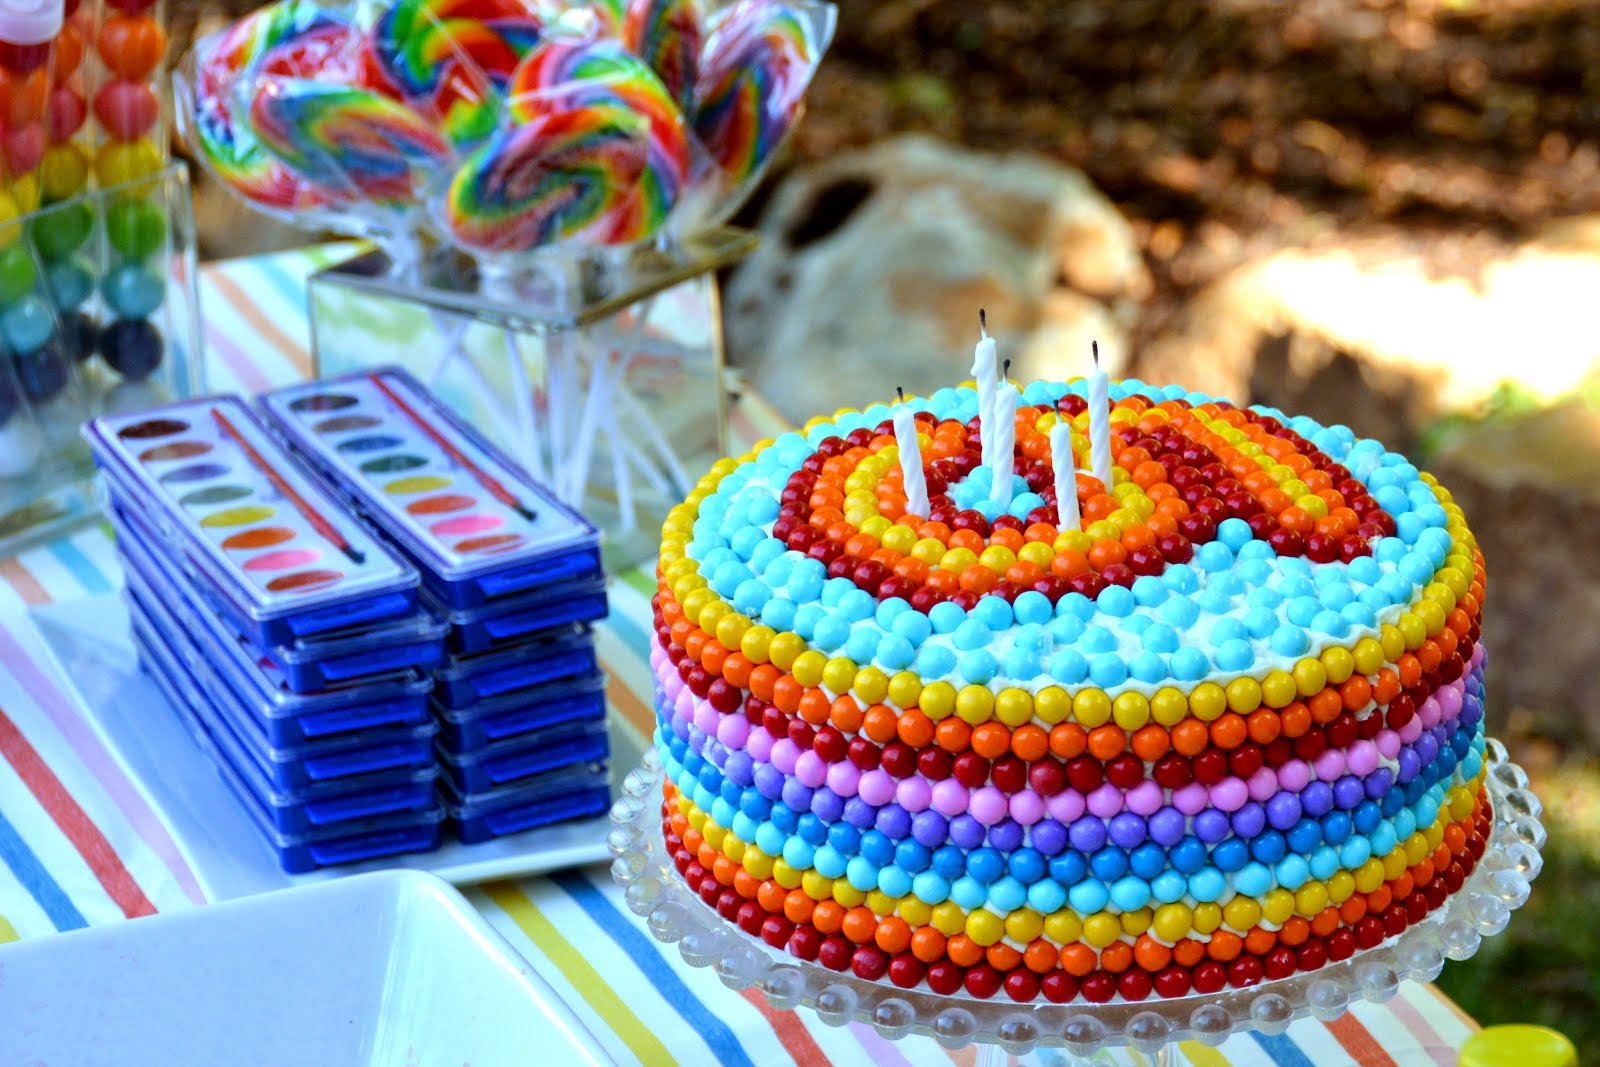
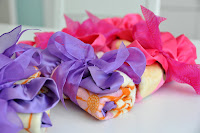
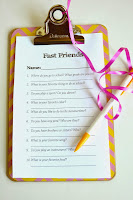
The catalyst for this little project is Tess's birthday invitation. I have an idea and I think printed paper tape will be the perfect adhesive solution. I can't wait to play with it! Opens so many possibilities to think of this binding tool as part of the design rather than something to be hidden or seen through...

If you are interested in the tutorial for making your own click to read more.

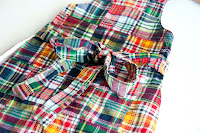
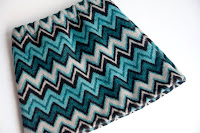
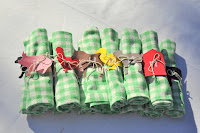
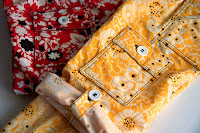
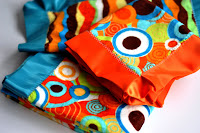
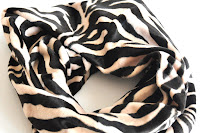
To make your own paper tape you will need your choice of decorative paper (I actually scanned some of the fabrics I'm using for Tess's birthday party and printed them on 11"x17" paper) and some double sided tape. I used X-Press It Double Sided Tissue Tape, which has the added benefit of being acid free if you'd like to use this for something more lasting than wrapping presents (which is also a fabulous use!). I used 1/2" and 1/4", but 1" would also be fun.

Because I printed my own decorative paper, I needed to first trim off the margin of "unprintable" area. You may not need to do this, just be sure you have a good straight edge to start with.

Flip your paper over so the wrong side is facing you. Unwind a section of tape off the roll and lay it down along the edge of the paper.

Trim the end of the tape off the roll and press it down smoothly onto the paper.

Now using the edge of the tape as a guide, trim the paper to fit.

Voila! Custom paper tape!
You could line up paper to keep going and create longer strips, but I was using mine in a few-inch segments, so I kept it short.

I found some other great paper tape tutorials here and here using different adhesive products. And this one using fabric--fantastic!
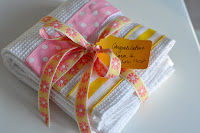
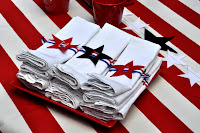
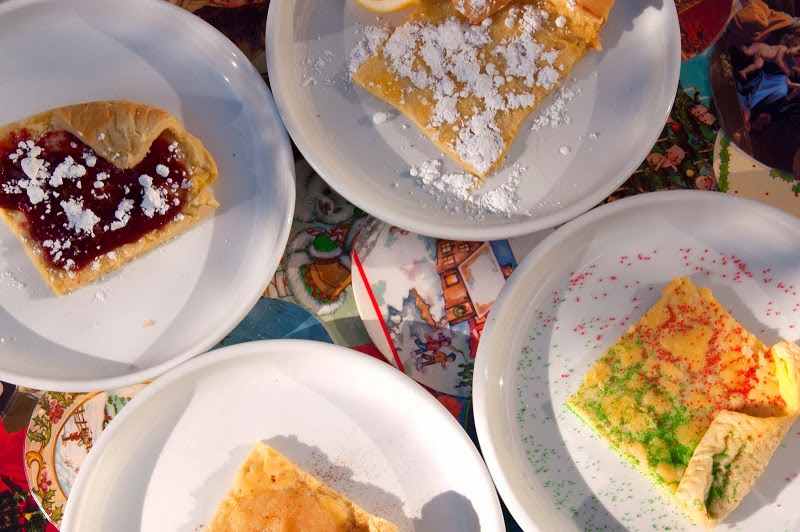
Custom paper tape: the perfect thing for understated, yet savvy gift wrap. And I can't wait to use it with the birthday party invitations. I don't think I've done anything with so little effort and such a big payoff in quite some time! Try it!


13 comments:
I love this. So simple but so effective. I must give it a go.Thanks for the clear instructions!
What a fantastic idea!!! I love the idea of scanning the fabric!! I saw a wonderful idea for a tray... weaving colored strips , then fitting the weaved piece into a sided tray and dropping a piece of glass over the top..it was lovely..thanks for the idea!!
Oh. My. Goodness. I have coveted washi for years but never felt like it was budget friendly. You are a GENIUS!!!!!
Great way to do it myself. Have to see which dutch store sells the tape you're writing about.
Fantastic idea, so simple and yet so brillant!
The wonders of washi tape...now DIY! So clever!
ooh i think i'll wrap my niece's birthday present in brown paper with pretty tape! awesome idea.
Thanks for the link! Love your interpretation of making your own washi tape. The possibilities are endless. Here's another link of a posting I did with some ideas for your newly made washi tape....
http://www.red-brolly.com/red-brolly/2011/08/gettin-crafty-with-washi-tape.html
Cheers...
What a brillant idea, lot and lot of thanks for such a great idea...I am going to pin it on my pinterest account...
I am sharing a treasure of Hand Embroidery, hope you like to come and see some traditional motifs and stitches
http://craftaworld.blogspot.com/
Love
Farah
Wonderful and easy idea, I have been making diferent types of recycled gift packaging and this idea will be great to me. thanks!!!
This is such a fabulous project - thanks so much fpr letting me feature it over at TipJunkie!
Lowri
http://www.tipjunkie.com/papercraft-tutorials/
I'm so happy I found this! Thank you so much for sharing! Beautiful tutorial & I love those designs! :)
Brilliant! And FYI, the junk they sell at Michael's is very poor quality, IMO. It doesn't stay stuck!
Post a Comment